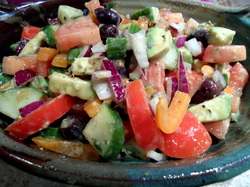
 I don't know about you but I LOVE Greek salads! This recipe uses fresh ingredients without any fake "cheeses", it's ready in about 15 minutes, and the ingredients are simple! This is a simple recipe that is perfect for picnics, summer cookouts, a great summer side dish, and it can stand as a meal on its own on those hot summer nights (it's great when served with some nice crusty vegan bread)! I adapted this recipe from my Dad who is notorious for making some of the best Greek salads! Although, my Dad makes his Greek salad with feta cheese I have found that avocado is an even trade for no cheese to make it vegan! I have great memories of sitting out on the deck on hot summer nights and eating a refreshing Greek salad while sipping on some wine with my parents. I hope you can create some great memories with this salad too!
Ingredients: 2 Roma (plum) tomatoes, sliced into 1/4" slices then quartered
1/2 of an English (seedless) cucumber, sliced into 1/4" slices then quartered
1/2 of a bell pepper, roughly chopped; red, orange or yellow peppers work best
1/4-1/2 cup red onion, chopped (amount to your preference)
1/2 avocado, diced
1/4 cup pitted kalamata olives
1/2 lemon, juiced
1/4 cup olive oil
1 tbs. fresh thyme, minced
1 tbs. dried oregano
Salt & fresh cracked pepper to taste (I used about 1/2 tsp. of salt and 1/4 tsp. of cracked pepper) How To: Place the tomatoes, cucumber, bell pepper, red onion, avocado, and kalamata olives in a large bowl. Pour lemon juice and olive oil on top. Add the thyme, oregano, salt and pepper and toss to evenly coat. You can add more lemon juice if you like your salad a bit more sour or you can add more olive oil if you like it less sour. Place everything in a serving dish and it's ready to enjoy!
 * * * * *
This recipe gets 5 big whopping stars from both me and my husband! I found this recipe on Pinterest. This recipe is a guest submission by Alice from the Savory Sweet Life blog which was featured on the Herbavoracious blog. This dish was easy to make, completely satisfying, tasted great, and it really hit the spot for a fulfilling meal! It's also vegan so I didn't have to substitute any of the ingredients!
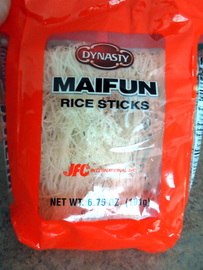
What I Did Differently: I couldn't find the potato starch cellophane noodles but I didn't look farther than Pick N' Save because I'm still on my crutches and getting around isn't quite as easy. I used rice stick noodles because they were the closest choice that resembled what was pictured. These noodles worked perfectly so if you can't find the other kind you can use these as an alternative. The noodles came in 3 bunches and I used 2. I followed the package instructions and I covered the noodles with hot water and let it sit for 10 minutes. They were perfect! I believe I ended up with a little more noodles than the recipe called for but I figured that one bunch would be too little. However, I would still do two bunches and up the amount of some of the veggies because this dish will go fast!
I used low-sodium soy sauce.
I added a bit more spinach because I love my greens!
I used a package of pre-sliced shiitake mushrooms because it was all that the grocery store had. It was probably double the amount but we love our mushrooms!
I used an orange bell pepper because the red bell peppers didn't look as fresh as the orange bell peppers at the grocery store.
I taste-tested the finished product before serving it and I decided to sprinkle a little bit of rice vinegar on top and tossed it in so it was evenly distributed. I did this because I didn't want it quite as sweet as it was and I figured that the rice vinegar would compliment the flavors. I also chose rice vinegar because it's a very mellow vinegar. It turned out perfect!
I also added a little more soy sauce. I believe I had to do this because I had a bit more noodles than what the recipe called for. I probably added about 1-2 more tablespoons.
I served this dish with some spicy Sriracha sauce and it really brought the flavors of this dish!
Overall Thoughts: I will definitely be making this recipe again! If using the alternative noodles I would double the tofu, spinach, pepper, mushrooms, green onions and carrots. If you use the noodles that the recipe calls for then I would use the whole block of tofu because both my husband and I thought it could use more. If you don't like yours quite as sweet then sprinkle with some rice vinegar or decrease the amount of sugar. I think a great addition would be to add in some red pepper flakes to liven up the dish a bit. I think the Sriracha sauce is a definite must have when serving this dish just because it tastes AMAZING with it! I would like to experiment on cutting down the amount of oil used in this recipe to make it a bit healthier. I think this could be done by sautéing some of the veggies together or by using veggie broth or water for sautéing instead of the oil. This dish is DELICIOUS and a MUST try! Update: Click here for a healthier version without a lack of flavor!
 * * * * *
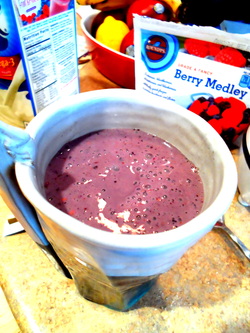
This recipe gets 5 big stars from me! This was so tasty that I can't seem to get enough of it and now breakfast smoothies are my new
addiction! I found this recipe on Pinterest from Sarah at A Rented Kitchen blog.
What I did Differently: I used soy milk and I used 1 cup instead of 2/3 cups. I also used a fresh banana because I didn't have any frozen. Overall Thoughts: I will definitely be making this again and using this as a basis for my smoothies! Yum!!!!
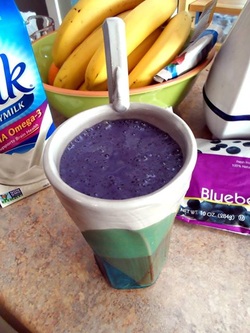
 This breakfast smoothie is perfect for when you don't have time to sit down and eat breakfast, it's a hot day, or maybe you're looking for something different! This recipe is quick, easy, packed full of flavor, and loaded with essential nutrients, vitamins, and protein, I've adapted this recipe from Sarah at A Rented Kitchen. The original recipe of Sarah's is a great basis for any smoothie (view my review here)! Here's my version:
Ingredients: 1 banana (fresh or frozen)
1/2 cup frozen berry mix
1 cup soy milk (I used Silk plain DHA Omega-3)
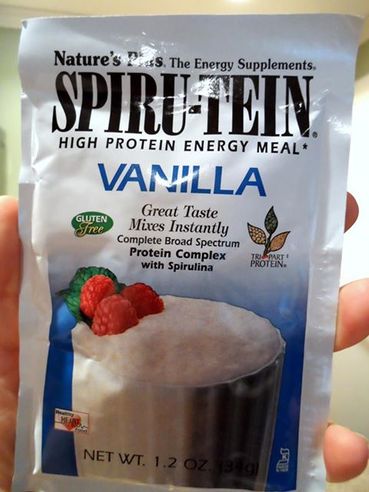
1 tbs. Vanilla Spiru-tein High Protein Energy Meal Powder or any vanilla flavored protein powder (See below for details) How TO: Combine all ingredients in a smoothie maker or blender and blend until smooth. Pour & Enjoy :) This powder is meal replacement and can be found in health food stores. It's packed with essential vitamins & nutrients. I like to use this because when I drink a smoothie for breakfast this is all I eat for breakfast; so why skimp myself on necessary vitamins and nutrients when I can add them by using this powder? I purchase my packets at Health Hut. They do sell this in big tubs but I prefer to use the packets. I get about 3 uses out of this package. This smoothie keeps me full for long time!
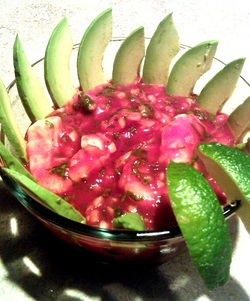
 Who doesn't love a great guacamole? My recipe is packed with flavor and can be altered to your spice level. It's easy to make and is sure to be a satisfying dish. Plus, it's naturally vegan! I make this dish a lot. Either I'll pair it with something or I'll serve it as an appetizer when we have company over. This bowl of guacamole always ends up empty!
Ingredients: 2 avocados, pitted and chopped (save the pits)
1 plum tomato, seeded and finely diced
1 jalapeno, seeded and finely chopped
1-3 clove of garlic, finely minced (the more the spicier)
1/2 c. red onion, diced (I usually slice about 2-3 slices off the onion and chop it up so I'm guessing on the amount but you can adjust to your taste. The more you add, the spicier it gets.)
1/2 lime, juiced
1/2 c. cilantro, finely chopped
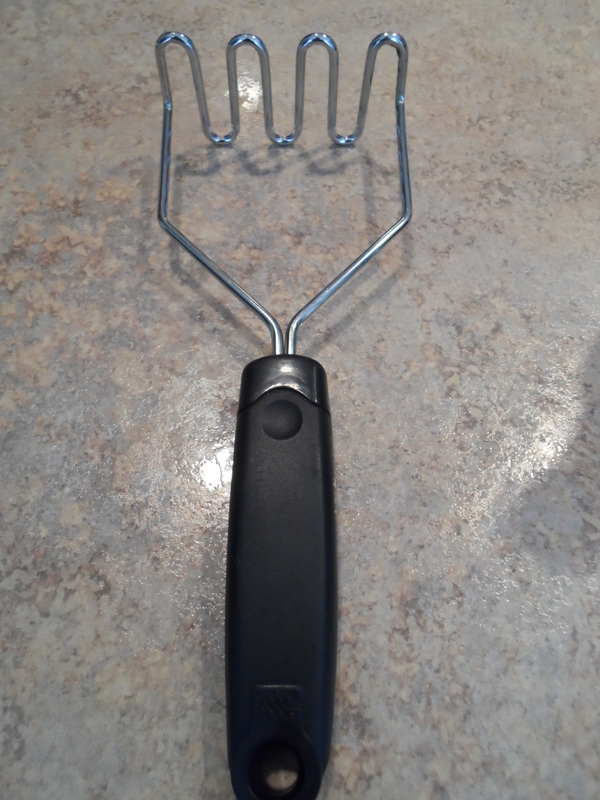
*sriracha sauce to taste (optional) How To: Combine all of the ingredients in a bowl and mash it together until you reach your desired consistency (when I add the lime juice I simply stick a fork in the middle of the half of lime and I squeeze it around the fork with the pulp side up as to catch any seeds). I like my guacamole smooth with some chunks of avocado but everyone has their own preferences. You can mash it with a fork or use my favorite tool pictured below. Place the pits of the avocado into the guacamole, cover and refrigerate until ready to serve but chill for at least 15 minutes (30 minutes if your avocados are room temperature). The pits help the guacamole from turning brown. I like to chill my guacamole for at least 30 minutes because as my Mom puts it, "the flavors marry". Remove the pits before serving. I hope you enjoy this recipe!
 If you're looking for an easy recipe for grilled veggies then you've found the right place! You can make these as a side dish or by themselves. These recipes are super simple and the veggies cook up in about 15 minutes! In this blog you will find two different recipes. One recipe is for the grilled veggies and the other is for the marinated & grilled mushrooms
Grilled Veggies Ingredients: Zucchini, sliced 1/2" thick
Summer Squash, sliced 1/2" thick
Salt & Pepper to taste (season salt would be great with this)
Olive Oil
Skewers (I used wooden skewers and soaked them in water for 20 minutes before assembling) How To: 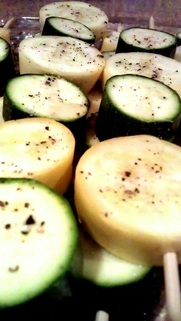 Prepare the grill and soak the skewers if using the wooden kind per package instructions (*TIP* If cooking both recipes start with the mushrooms first). Assemble the vegetables on the skewers as shown in this picture. I found it easiest to put the skewer through the vegetable slice when the slice was laying flat. I lined it up it the middle and made sure to push it in straight. My husband preferred to do the opposite and stand the skewer up and the thread the veggie slices on that way. Try both ways and see what works best for you! Place the assembled skewers on a jelly roll pan or a 13"X 9" pan and drizzle evenly with olive oil. Salt & pepper to taste (I recommend using season salt). Place on grill over medium-high heat and grill about 5-7 minutes on each side or until the slices are tender and slightly translucent in the center.
Marinated & Grilled Mushrooms Ingredients 16 oz. package of whole mushrooms (button or baby bella)
Hoisin Sauce
Low-Sodium Soy Sauce
Rice Vinegar
Garlic Powder How To: Wash the mushrooms and slice in half. Place in a Ziploc bag. I used the "dump method" on this recipe. I added 2 large spoonfuls of hoisin sauce (about 2 tablespoons) to the mushrooms in the Ziploc bag. Next, I shook in enough soy sauce to make a mixture with the hoisin sauce to coat the mushrooms (about 4-5 tablespoons). Then, I added in the rice vinegar (about 1 tablespoon) and I sprinkled in some garlic powder (about 1 teaspoon). Next, close the Ziploc bag and shake it up making sure to mix all ingredients and coat the mushrooms. Place the bag of mushrooms in the fridge and allow to marinate for 30 minutes. Prepare the grill and soak the skewers if you are using wooden skewers while the mushrooms are marinating.
Assemble the mushrooms on pre-soaked skewers through the stem to the top of the mushroom half. Place on the grill over medium-high heat and grill for 5-6 minutes on each side or until tender.
*You can also make these spicy by adding in some hot pepper flakes or sriracha sauce!
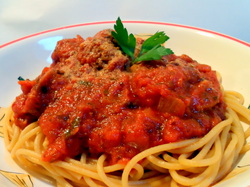 We've all had it where we have been in a quick bind for dinner and need to cook something up pronto! Or maybe we just really don't feel like cooking but we still want something that looks and tastes great on the table! I have a no-fail vegan dinner...spaghetti with Italian "sausage"! This even cooks up in less than 30 minutes!
The other night I had to fix this up because our plans had suddenly changed. Thankfully, I already had all of the ingredients for a spaghetti dinner! Ok, I used jarred
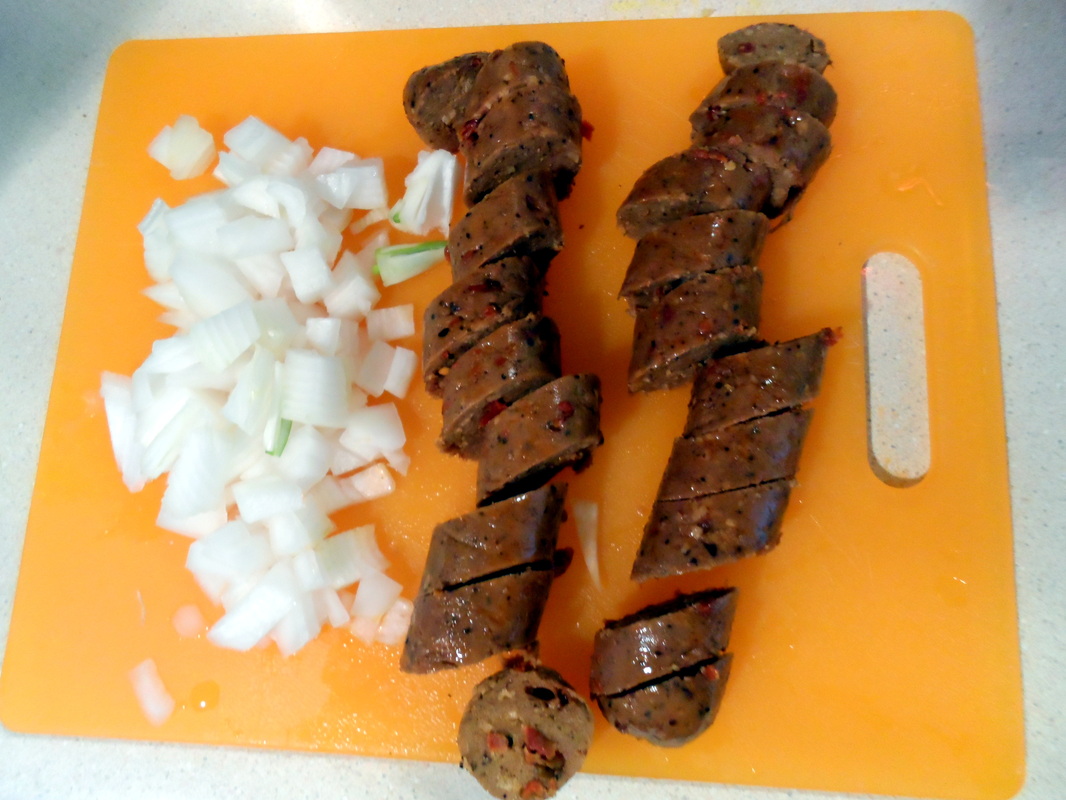
sauce but I couldn't help to add my own touch to it! I started up a pot of water for the noodles, put it on high heat, and I covered it to bring it to a boil faster. Then, I chopped up about 1/2 cup of white onion and two links of the Italian Tofurky sausages.
 Next, I heated a large saucepan over medium heat and I added about 1 tbs. of olive oil. Once the olive oil was heated I added in the onions and
tofurky. I sautéed the ingredients until the onions were tender. Then I grated in 2 cloves of garlic; sautéing until fragrant (about 30 seconds). Next, I poured in the sauce.
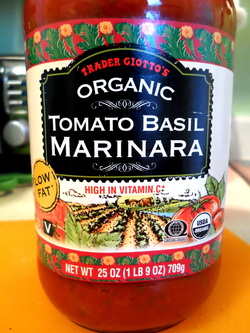 You can use any sauce but make sure it's vegan! I used Trader Joe's tomato basil marinara. After adding the sauce, I turned the heat down to low and
I left the sauce uncovered to thicken up while it simmers. If you like your sauce on the thinner side then just cover slightly leaving a small space for some evaporation.
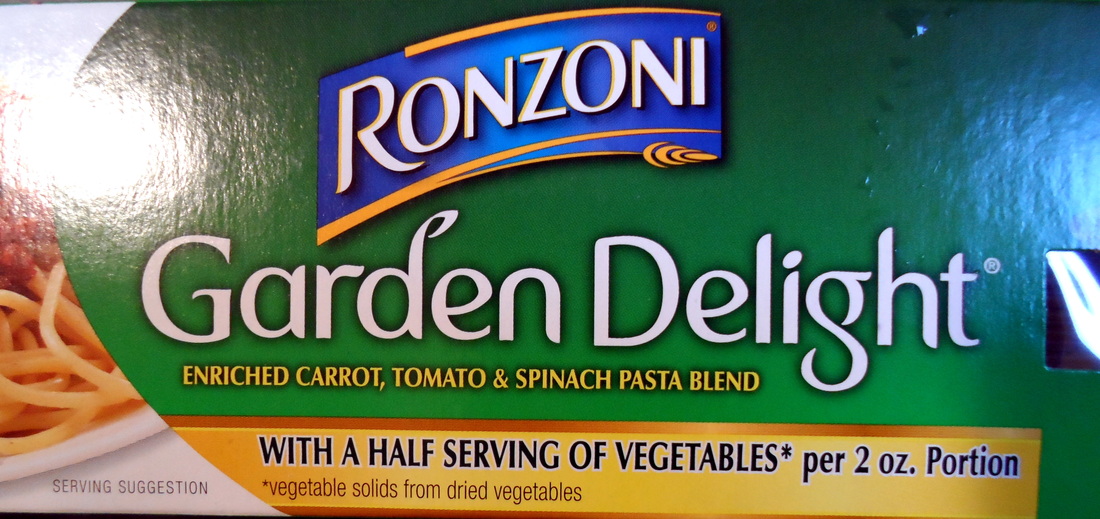
Once the water was boiling, I added the noodles. These noodles are one of my favorite spaghetti noodles because they're made with veggies! I just happened to have some on hand so this is what I used. Any kind will do though. While the noodles cooked, I tended to the sauce. 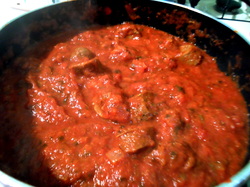 I tested the sauce to check for saltiness because when adding sausages to a jarred spaghetti sauce they have a tendency to be on the saltier side. I learned that a nice trick to fix a sauce that is too
salty is...olive oil! Yep, olive oil seems to do the trick and it
helps to add a nice flavor. I added in the olive oil until the sauce tasted just right!
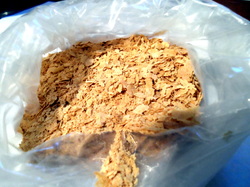 Next up was adding a flavor that somewhat resembled parmesan cheese. Drum roll please...nutritional yeast! It's rich in vitamin B-12 and it tastes like parmesan cheese. I just added a few sprinkles to my liking and I also ground in some fresh black pepper. Once the noodles were done I strained them, turned off the sauce, essembled the spaghetti, and sprinkled a light dusting of nutritional yeast on top. This was all done in 30 minutes and it was quick, easy, and delicious!
|


 RSS Feed